
Get AVS Vaults Right in 2026
Setting up an Air-Garded AVS Vault requires strict adherence to physical security protocols. Unlike hot wallets, these systems isolate private keys from network interfaces entirely. Before you begin, verify that your hardware environment meets the following prerequisites to ensure the vault functions as intended.
1. Verify Hardware Integrity
Inspect your air-gapped device for physical tampering. Check that the USB ports are sealed and the case shows no signs of forced entry. The hardware must be from an official manufacturer source to prevent supply chain attacks. Any deviation from the original packaging should trigger a return.
2. Prepare a Clean Signing Environment
Use a dedicated, offline computer for generating and signing transactions. This machine should never connect to the internet. Install only the necessary signing software provided by the AVS protocol. Run a malware scan on the installation media before use to ensure no malicious code has been injected.
3. Establish a Secure Transfer Method
Air-gapped systems rely on a secure bridge, typically QR codes or SD cards, to move data between online and offline states. Test this transfer method with a small transaction first. Ensure the data transfer is complete and uncorrupted before attempting to sign any significant value movements.
4. Backup Your Seed Phrase Correctly
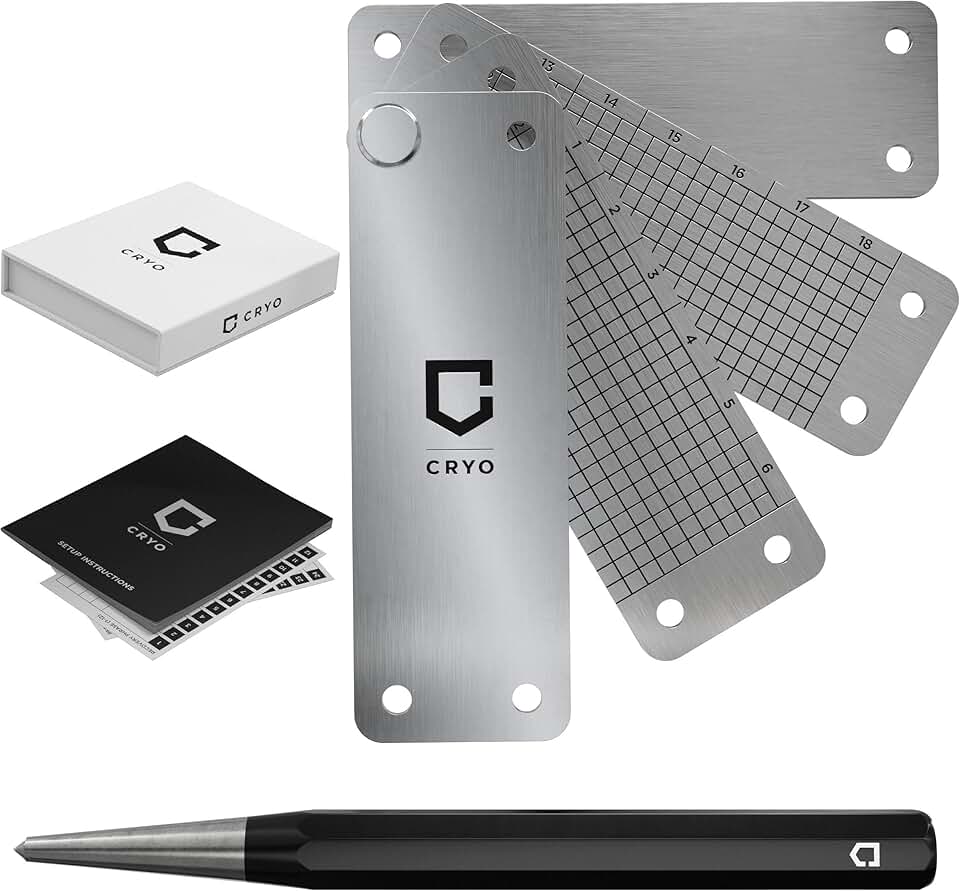
Write down your recovery seed phrase on the provided metal backup plate. Do not use paper, which degrades over time. Store the backup in a separate, secure location from the vault itself. If you lose the device, the seed is the only way to recover your funds.
Set up your air-gapped AVS Vault
Securing your private keys in an air-gapped AVS Vault requires a strict separation between your internet-connected devices and the hardware that signs transactions. This process eliminates remote hacking vectors by ensuring the private key never touches an online network. Follow these steps to initialize your vault, generate your seed phrase, and verify the security integrity of your setup.
Begin by opening the AVS Vault packaging. Inspect the device for any signs of tampering, such as broken seals or misaligned screws. The hardware should feel solid and the screen clear. Ensure you have a clean, well-lit workspace free from cameras or recording devices to prevent shoulder surfing during the sensitive key generation phase.
Press the power button to start the device. The screen will guide you through the initial setup wizard. Select your preferred language and confirm the firmware version displayed. Do not connect the device to Wi-Fi, Bluetooth, or USB networks yet. The device must remain in a disconnected state to maintain its air-gapped status during initialization.

The device will prompt you to create a new wallet. It will display a 12 or 24-word seed phrase sequentially. Write these words down on the provided metal backup plate or high-quality paper. Never type these words into a computer, phone, or cloud service. Verify the words twice by re-entering them on the device screen to ensure accuracy.
To confirm your wallet is set up correctly, request a small test transaction. Send a minimal amount of cryptocurrency to your new address. The AVS Vault will display the received address as a QR code. Scan this with your cold wallet app to verify the address matches. Once the transaction confirms, you can proceed with larger transfers.


As an Amazon Associate, we may earn from qualifying purchases.
Fix common mistakes
The to Secure AVS Vaults troubleshooting should start with a clear boundary: what is actually broken, and what still works normally. Check the display, network connection, paired devices, app access, and recent updates before assuming the whole system needs a reset. A small connection failure can make the main screen feel unreliable even when the core system is fine. Work from low-risk checks to deeper resets. Confirm power state, safe parking, account access, and signal first. Then restart the interface, wait for it to reload completely, and test the original symptom. Avoid changing multiple settings at once because that makes it harder to know which step actually fixed the problem. If the issue affects safety information, repeats after every restart, or appears with warning messages, treat the reset as a temporary diagnostic step rather than the final fix. Document the symptom and move to official support instead of stacking more DIY attempts.
The simplest way to use this section is to keep the setup small, verify each change, and record the stable configuration before adding optional accessories.
AVS Vaults 2026: Practical questions and answers
Choosing an air-gapped hardware vault involves more than just buying a device. You need to understand how the system handles updates, what happens if you lose a key, and whether the security claims hold up in practice. Here are the most common questions about Secure AVS Vaults in 2026.
These questions highlight why air-gapped hardware is the preferred choice for high-value storage. The trade-off is slightly more complexity in setup, but the security benefit is substantial.
No comments yet. Be the first to share your thoughts!